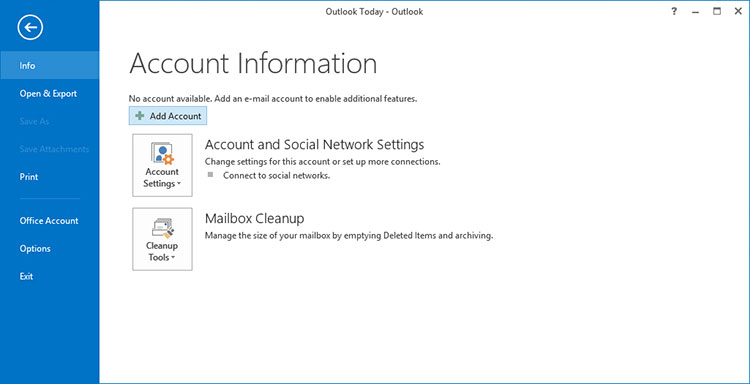
Open Outlook and click on ‘File’.

Click on the Add Account button.

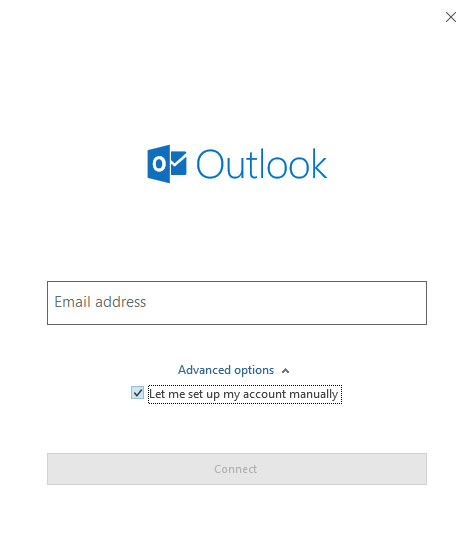
Enter your email address, click on ‘Advanced options’, select ‘Let me set up my account manually’ and then click on ‘Connect’.

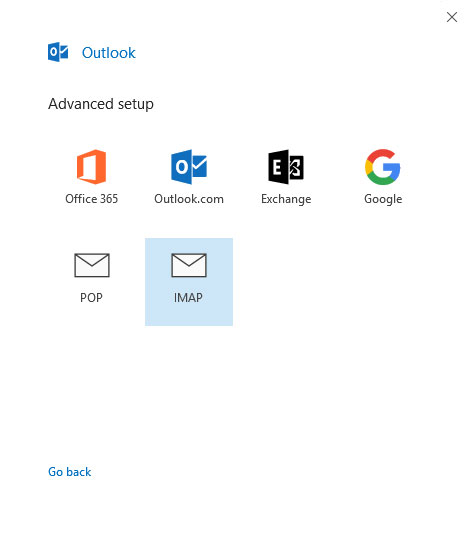
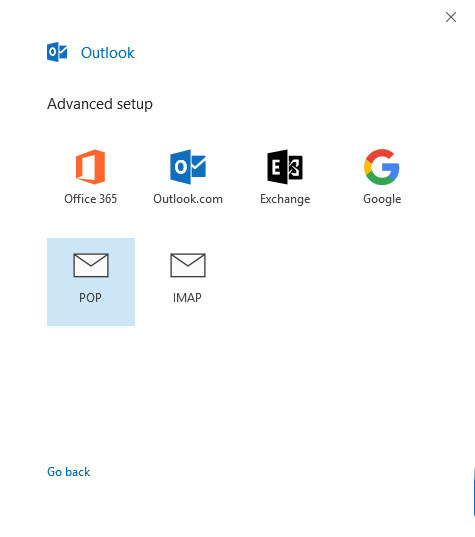
On the next screen please select the ‘IMAP’ option. If you wish to setup your email with POP instead of IMAP, please scroll down and follow the POP instructions below.
On the next screen please enter your email settings:

Account type: IMAP
Incoming mail server: imap.stackmail.com
Port number: 993
Outgoing mail server: smtp.stackmail.com
Port number: 465
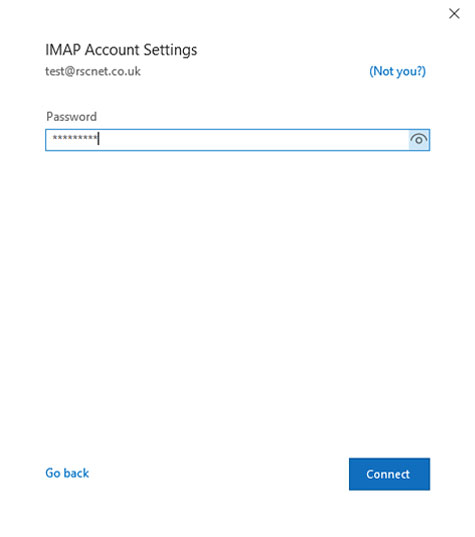
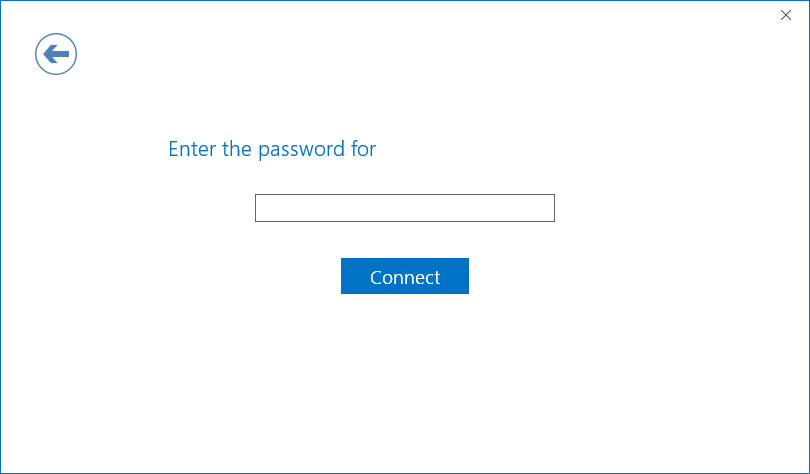
Next, enter your password and click on ‘Connect’.
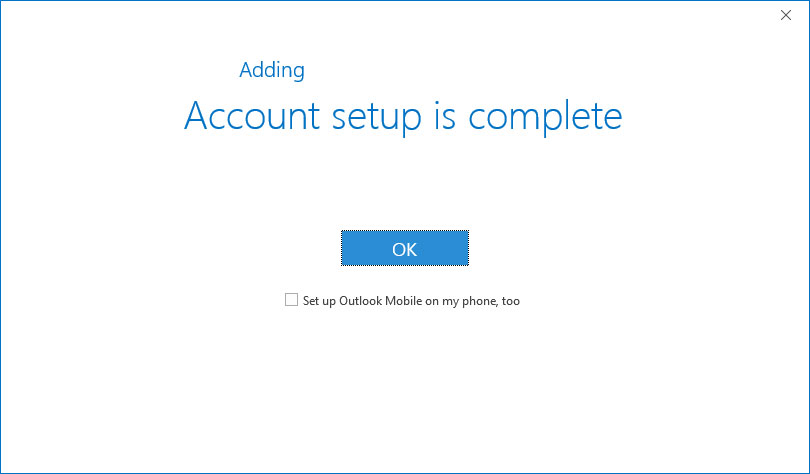
A message should then be displayed saying that the account setup is complete. Click on ‘OK’ to continue. Your email account is now ready to use.
Setup with POP
The main difference between IMAP and POP is that POP downloads emails from the mail server for permanent local storage, while IMAP leaves them on the server and just caches (temporarily stores) emails locally.
IMAP is preferred as it allows you to view emails on multiple devices and keeps your inbox and sent items in sync.
Outlook does give you the option of downloading emails to your local storage whilst leaving a copy on the server, you must ensure this option is turned on if you wish to view your emails on multiple devices.
If you wish to setup your email account with POP instead of IMAP, please follows these steps:
Open Outlook 2016 and click on ‘File’.
Click on the Add Account button.
Enter your email address, click on ‘Advanced options’, select ‘Let me set up my account manually’ and then click on ‘Connect’.
On the next screen please select the ‘POP’ option.
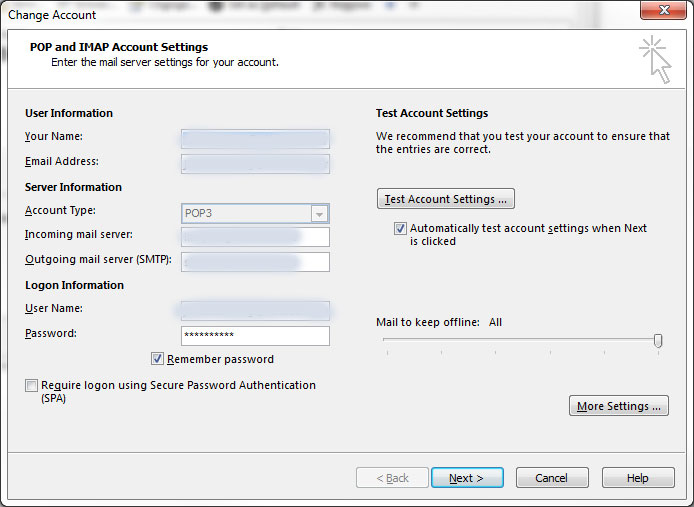
On the next screen please enter your email settings:

Account type: POP3
Incoming mail server: pop3.stackmail.com
Port number: 995
Outgoing mail server: smtp.stackmail.com
Port number: 465
Next, enter your password and click on ‘Connect’.
A message should then be displayed saying that the account setup is complete. Click on ‘OK’ to continue. Before using your email you will need to configure some settings.
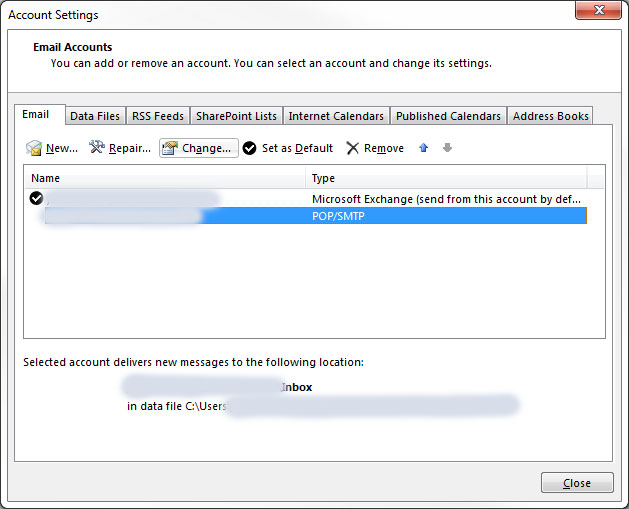
Click on ‘File’ > ‘Account Settings’ > ‘Manage Profiles’ and then ‘Email Accounts’. Click on your email address and select ‘Change’, as shown below.
Next, click on ‘More Settings’ in the bottom right corner.

Click on the ‘Advanced’ tab. The option you need to look for is the bottom one called ‘Delivery’. We want to leave a copy of the message on the server for X number of days
This option will keep a copy of any emails you receive with outlook on the internet so that they can be accessed using webmail
It’s also required if you check your emails on another computer/ device for example a phone
You can define how many days to leave messages on the server for – this will vary depending on your use and how important it is to access emails while away from your computer.
This option can be changed later so set it to 4-8 weeks now and adjust it if you need to.
If you are unsure set it to 2 months (60 days).


