Setting up default iOS mail client
Setting up the Outlook app on iOS
Note: don’t forget you can click on any of the images to view a larger version.
First, open ‘Settings’ on your device.
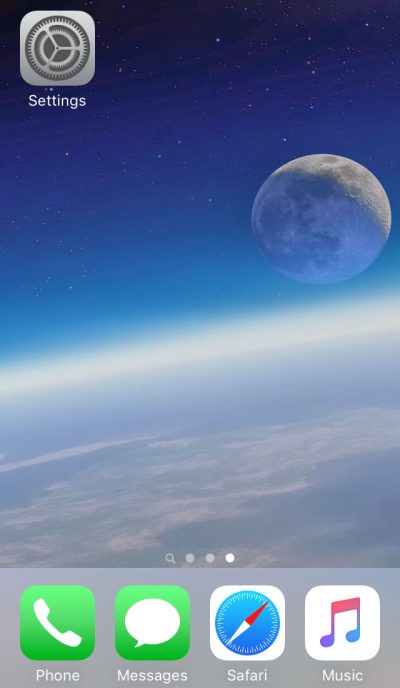
Open your settings
In your settings select the ‘Passwords & Accounts’ option.
Note: If using iOS 10 or earlier you need to click on ‘Mail, Contacts, Calendars’ instead of ‘Passwords & Accounts’.
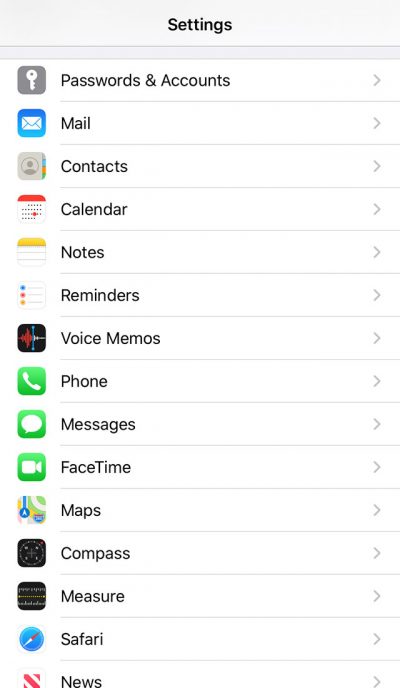
Select ‘Passwords & Accounts’ on iOS version 11 or later.
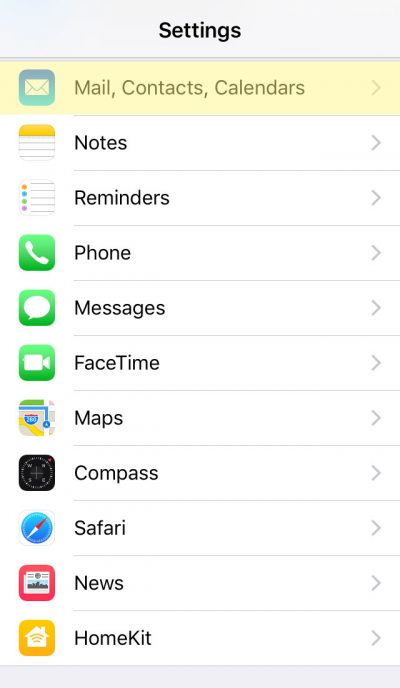
Select ‘Mail, Contacts, Calendars’ on iOS version 10 or earlier.
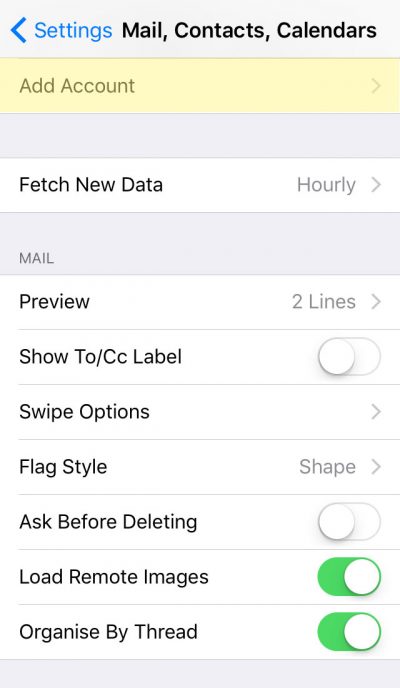
Select ‘Add Account’ to set up a new email account.
Next, you will be given a list of email providers, select ‘Other’ located at the bottom of the list.
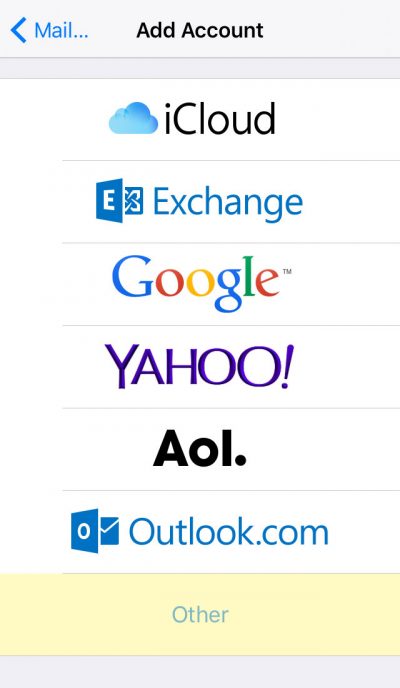
Select other from the list of email providers
Next, select the type of account you are adding, select the top option ‘Add Mail Account’.
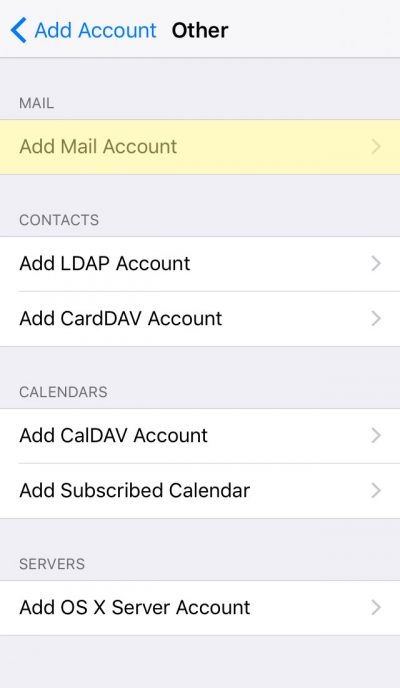
Select add mail account
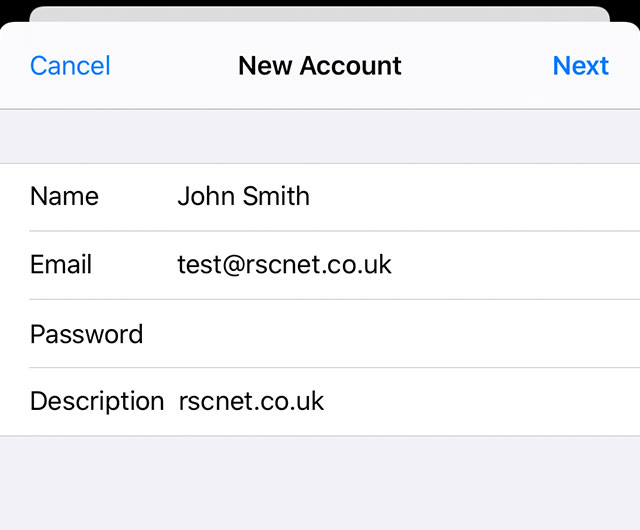
The device will then ask for the account details, enter your name, email address and password before selecting ‘Next’.
On the next window select ‘IMAP’ and enter your details, substituting ‘John Smith’ and ‘test@rscnet.co.uk’ with your own name and email address. Make sure to enter your password under both incoming and outgoing mail servers.
Incoming mail server: imap.stackmail.com
Outgoing mail server: smtp.stackmail.com
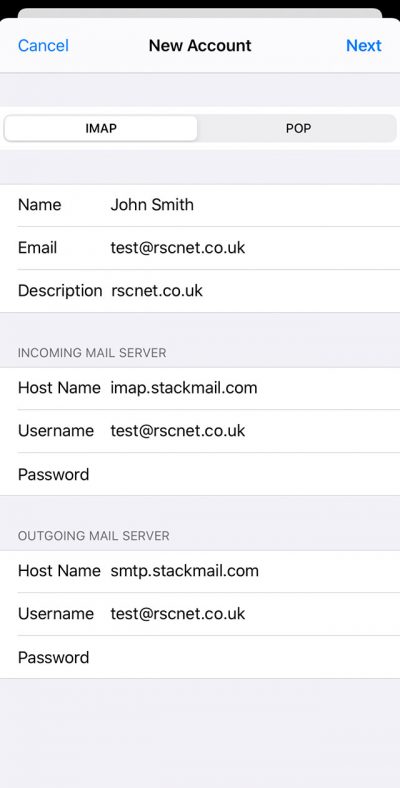
your outgoing username and password are the same as your incoming details (your email address and password)
Your device will then test the settings and if successful add the email account to your device.
If you receive a message on your iPhone or iPad which says ‘Cannot Verify Server Identity’ there is a quick and simple fix to get your email account working.
First of all, when the error message is displayed, tap ‘Details’.
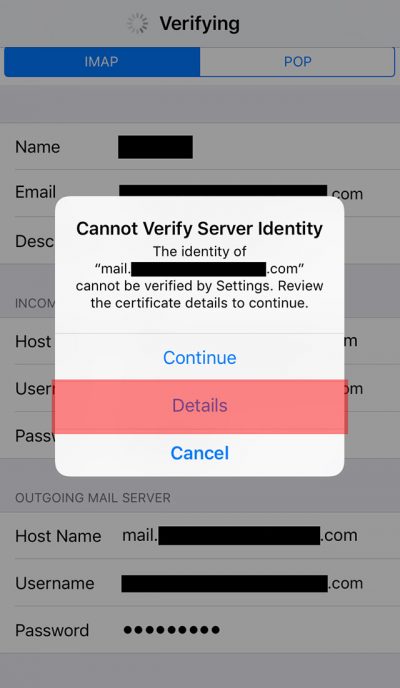
Tap Details
Then press ‘Trust’ in the top right corner.
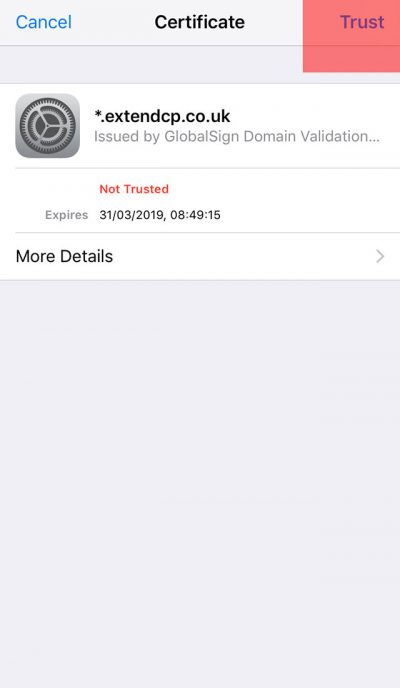
Press ‘Trust’
This should now verify and allow you to send and receive emails.
Note: Make sure you use IMAP rather than POP if you would like to view your emails on multiple devices. If you’d prefer to use POP in Outlook, make sure your outlook settings are leaving a copy of the messages on the server or you will not see any emails on your mobile device.


